Step-by-Step Guide for New Pixelpenai Users
Welcome to Pixelpenai, an AI-powered solution that generates high-quality WordPress articles in minutes. To help you get started, we've created this step-by-step guide that will walk you through setting up your account, connecting your blog, and generating your first article.

1. Sign up for an account
Visit the sign up page and sign up for a new account using your email, Google, or Twitter credentials.
2. Login and navigate to your dashboard
After signing up, log in to your account. You'll be redirected to your dashboard.
3. Check your article balance
Once logged in, you'll see your article balance displayed in the navbar on the right side. This indicates how many articles you can create.

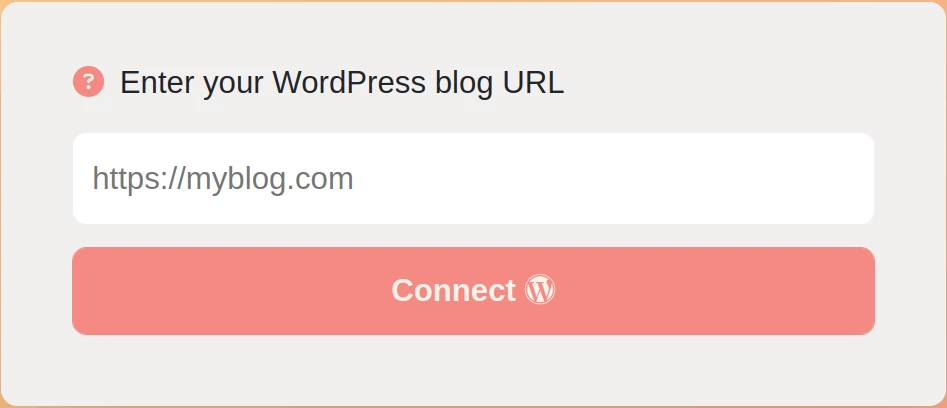
4. Add your WordPress blog
To connect your blog, click on the "Add Blog" button. You'll need to provide your blog's URL.
You will be redirected to your blog, where you will need to confirm that pixelpenai can add posts to your blog. By default posts are saved as draft, but you can also schedule or post immediately. Check 'Configure advanced settings' below for the details.
Click 'Yes, I approve of this connection' to connect your blog with Pixelpenai
5. Configure blog settings (optional)
In the blog settings, you can customize various aspects of the generated articles, such as:
- Word count goal: Set the desired word count for the generated article (between 300 and 3000 words). Please note that the word count goal can differ (sometimes significantly) from the actual word count. You can get more or less words.
- Use images: Enable or disable the inclusion of royalty-free images in the article.
- Image dimensions: Set the desired image height (between 50 and 1300 pixels) and width (between 150 and 2000 pixels).
- Use tables: Enable or disable the inclusion of tables in the article.
- System role: Define the AI writer's role with a description (e.g., "You are a professional and very experienced article writer and content creator").
- Publish to WordPress: Enable or disable automatic publishing to your WordPress site.
- Publish status: Choose the desired publish status (Draft, Publish, or Schedule).
- Schedule delay: If scheduling, specify the delay in hours after the last scheduled or published post.
6. Create an article
Enter the desired article title and click the "Create Article" button. The article generation process will begin, taking approximately 2-3 minutes to complete and appear on your WordPress site. During this time, you'll see a clock icon indicating the article is being processed.
7. Monitor the article generation process
Once the article generation is complete, you'll see a green checkbox. If the article fails to generate, you'll see a red cross instead. Your article balance will be updated only if the article generation succeeds.
8. Check results
Go to your WordPress blog and check the 'Posts'. In this guide we did not adjust the advanced settings so the article is saved as draft.
We posted this article as is without edits. You can check it at https://blog.pixelpenai.com/why-ai-generated-articles-is-the-future-of-blogging.
9. Access additional resources and support
For further assistance, watch the available tutorial videos or contact Pixelpenai via email or live chat.
Congratulations! You're now ready to create high-quality, AI-generated articles using Pixelpenai. Happy blogging!